
Installing a Fence Post
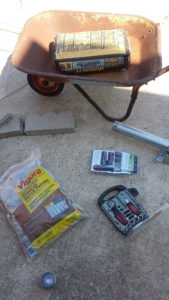
Required materials:
NOTE: Follow instructions on the cement fix bag.
- Post
- Post Cap
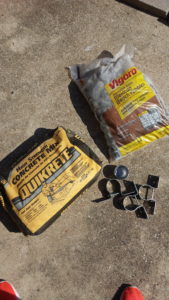
- Bag of rocks (optional). Rocks the size of a lemon.
- Wheel barrel
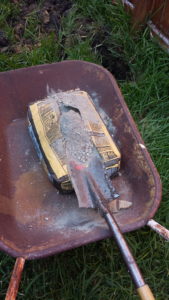
- Cement mix (Follow cement mix bag installations)
- Level tool
- Shovel
- Socket and ratchet
- Fence bracket tee (optional)
NOTE: The following instructions worked for me. Your procedure may vary.
- Dig a hole 1/3 the length of the new post.
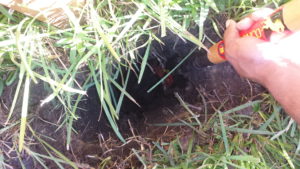
2. Secure two bracket tee’s to the bottom of the post, about one foot up from the bottom of the post. The bracket tees should be fashioned about 90 degrees from each other.
3. Pour a 1/2 shovel of dry cement mix in bottom of the hole.
4. Add 8 – 10 pieces of rocks.
5. Pour half shovel full of water in the hole. Install post. Rotating post back and forth vigorously to secure in place.
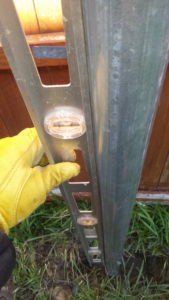
6. Using the Leveling tool, level your post. The initial shovel of cement mix, rocks, and water in the bottom of the hole should allow you to level the post with no support.
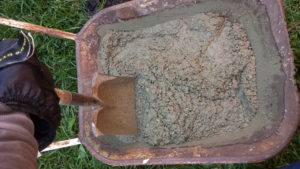
7. Using the wheel barrel, shovel, the remaining dry cement fix. Pour two quarts of the water (per 60 lbs bag) in the wheel barrel.
8. Fix cement and water.
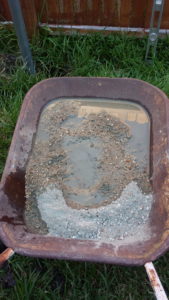
9. Pour two shovel full of cement fix in hole. Distribute evenly.
10. Add 8 – 10 pieces of rocks. Distribute evenly.
11. Add the final mixture of cement fix in the hole. Distribute evenly.

12. Level your post using the leveling tool.
13. Allow to dry. (Follow instruction on the cement mix bag.)